NetOPSAdministration
Dashboard-only users
Create a limited user that can only view dashboards.
1. Create a User Group (if not already created)
- Go to Users > User Groups > Create User Group (top right-hand corner).
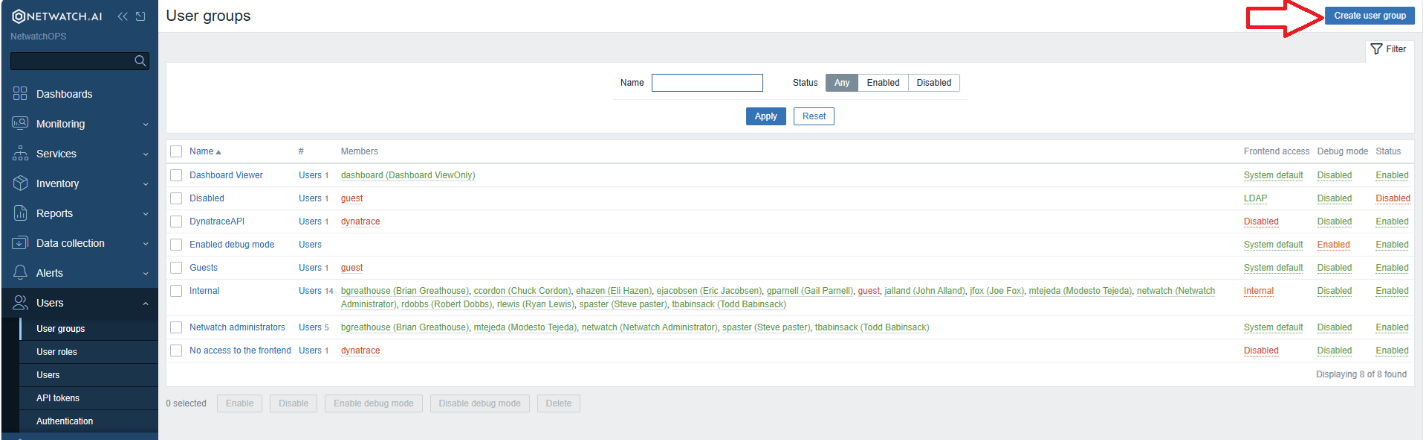
- Enter a name in Group Name.
- Click on the Template permissions tab.
- Select Add under Permissions.
- Select Read under the Permissions heading.
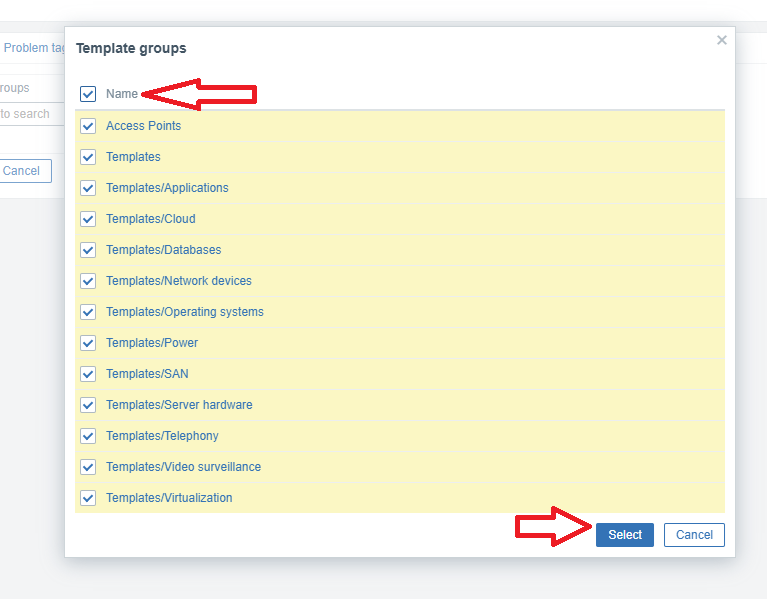
- Click Select > select all templates by clicking on Name > click Select at the bottom of the page.
- Click on the Host permissions tab.
- Select Read under the Permissions heading.
- Click Select > select all host groups by clicking on Name > click Add (blue button) at the bottom of the page.
2. Create a User Role (if not already created)
- Go to Users > User Roles > Create User Role (top right-hand corner).
- Enter a name for the user role.
- Under Access to UI elements, toggle the correct elements on/off. For dashboard viewers only, select Dashboards only and toggle off everything else.
- Under Access to services, leave the defaults.
- Under Access to API, leave the defaults.
- Click Add at the bottom of the page.
3. Create the User
- Go to Users > Users > Create User (top right-hand corner).
- Enter Username, Name, and Last Name.
- Click Select next to Groups > click on the correct group.
- Enter the password in both password fields.
- Select the correct time zone.
- Click on the Permissions tab.
- Select the correct role. This automatically shows the access levels the user now has.
- Click Add.
4. Share the Dashboard (Administrator)
Note: each dashboard must be shared by an administrator.
- Open the dashboard that needs to be shared.
- Select the three bars in the top right corner, next to Edit Dashboard.
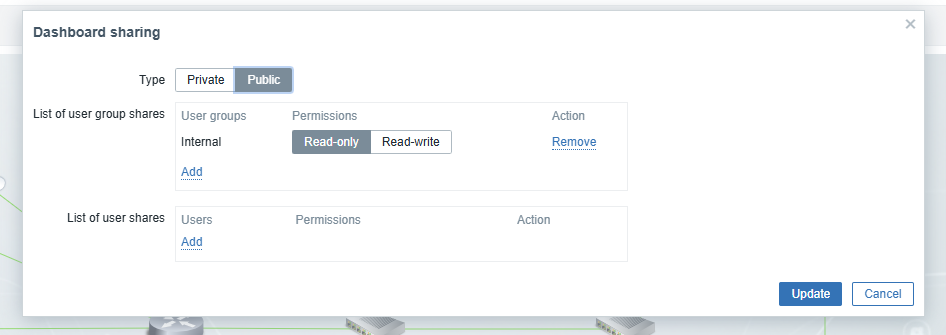
- Go to Sharing > select Public.
- Toggle Read-Only on.